How to Prevent Yellow Leaves on Camellias
Discover practical tips and insightful solutions to maintain the vibrant green foliage of your camellias, preventing the common issue of yellowing leaves through proper care and intervention.
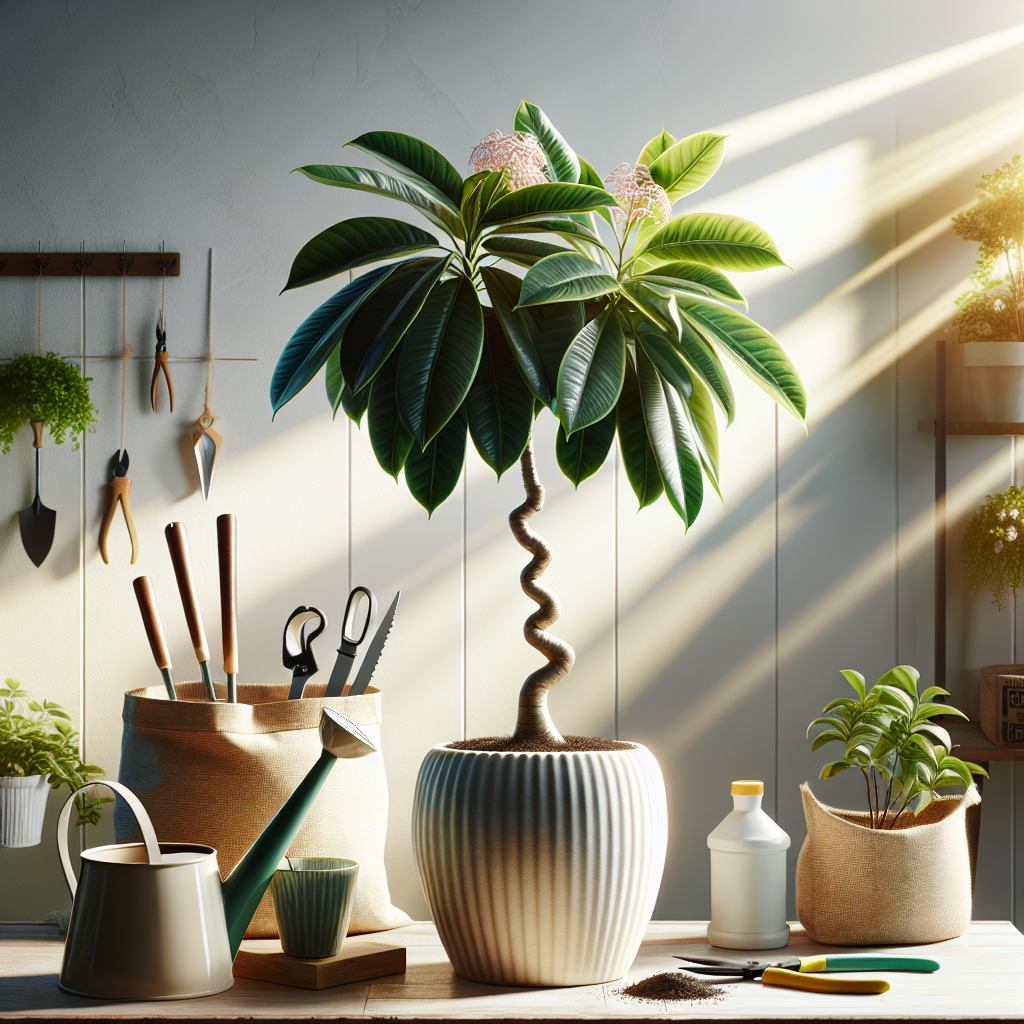
Understanding Camellia Plant Care
Pet Friendly: Camellias are generally considered safe for pets, so you needn’t worry about your furry friends around these plants.
Light Requirements: These plants prefer bright, indirect light; too much direct sunlight can scorch their leaves.
Watering: Camellias like to be kept in moist soil, but be cautious not to overwater as this can lead to root rot.
Humidity: A moderate level of humidity is beneficial, but they can tolerate lower humidity levels.
Temperature: These plants thrive in temperatures between 60-75°F (15-24°C).
Difficulty: Camellias are moderately easy to care for, but keeping their environment stable is key to preventing yellow leaves.
Optimal Watering Practices for Camellias
Watering your camellias correctly is essential. Overwatering can cause root rot, which leads to yellow leaves, whereas under watering will stress the plant, also resulting in yellowing. Striking the right balance involves checking the top inch of soil before watering—only water when it feels dry to the touch.
A product like the ‘Aqua Globes’ can take the guesswork out of watering. Based on reviews, users find that these blown-glass bulbs slowly release water into the soil as needed. However, since every plant’s needs are different, keep a close eye on your camellias’ response to ensure they’re getting just the right amount of moisture.
Find This and More on Amazon
Identifying Yellow Leaf Causes in Camellias
When you notice the leaves on your camellias turning yellow, it could be an indicator of several different issues, from watering mishaps to nutritional deficiencies. For example, if you’re caring for your camellias similarly to pothos plants in low light, they may struggle as their light needs differ.
Water quality can also affect camellias. In some areas, tap water contains high levels of minerals that can accumulate in the soil and affect the plant. If that’s a concern, consider filtered or rainwater for your watering routine.
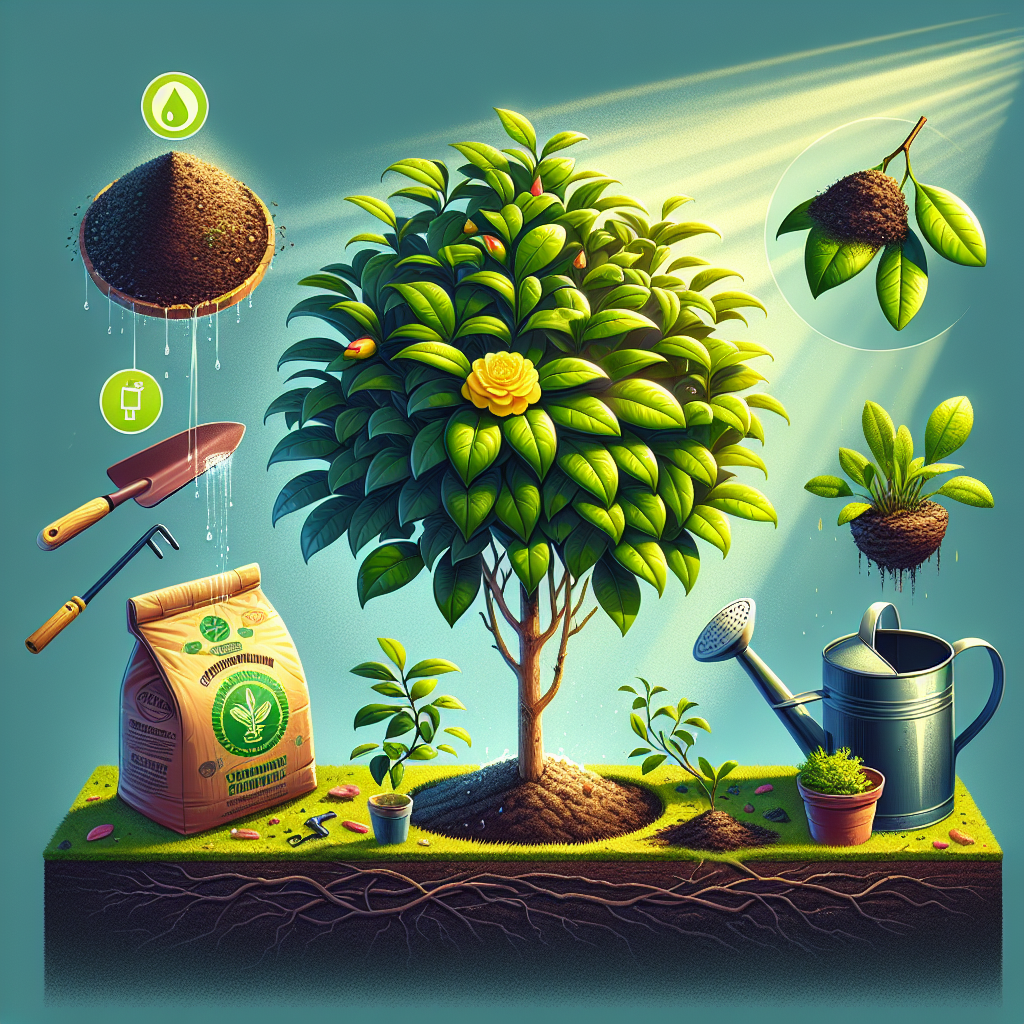
Providing the Right Soil and Nutrients
Camellias need well-draining, acidic soil with a pH around 5.5 to 6.5. You can purchase soil mixes specifically formulated for acid-loving plants or create your own mix. Products like ‘Miracle-Gro Acid-Loving Plant Food’ encourage vibrant blooms and healthy green leaves.
According to reviews, ‘Miracle-Gro’ has been lauded for its ability to prevent yellowing and perk up camellias. It contains iron, which is crucial for maintaining deep green foliage. However, be mindful not to apply too much fertilizer, as this can damage plant roots and have a counterproductive effect.
Find This and More on Amazon
Striking the Right Light Balance for Camellias
Choosing the correct location is pivotal for camellias. Avoid placing them in direct afternoon sun, which could be as harmful as keeping them in a dimly lit area like spider plants. Aim for a spot with dappled light or where the sun is gentle, like morning light or filtered afternoon light.
For garden camellias, consider planting them under a canopy of taller trees or on the east side of a building. For indoor camellias, a sheer curtain can diffuse the direct sunlight, ensuring they receive the bright, but not scorching rays they desire.
Guarding Against Pests and Diseases
Pests and diseases can cause yellow leaves on camellias. Spider mites, scale insects, and aphids suck on plant sap, stressing the camellia and leading to yellow foliage. Use an insecticidal soap or a neem oil spray to manage these pests. Both are effective organic options that reviewers recommend for being gentle on plants, beneficial insects, and humans.
Fungal diseases like root rot, can also lead to yellow leaves. If you suspect root rot, it’s crucial to act swiftly. Remove the affected plant from its container and trim away any black, mushy roots before repotting in fresh, well-draining soil. Keep the soil moist, but not wet, to prevent a recurrence.
Paying Attention to Watering Frequency and Quantity
Frequent yet shallow watering can lead to weak root systems that can’t draw moisture and nutrients efficiently, causing stress and yellow leaves. Instead, water deeply, ensuring moisture reaches the entire root system, then allow the surface to dry out before watering again.
Using a moisture meter can be a game changer in getting your watering schedule just right. Devices like the ‘XLUX Soil Moisture Meter’ have numerous positive reviews for their accuracy. It bypasses the guesswork by showing you exactly when your camellia’s soil is beginning to dry out.
Find This and More on Amazon
Seasonal Adjustments for Camellia Care
Care routines for camellias will change with the seasons. During the warmer months, camellias require more water as they’re actively growing. Cooler months, however, demand less hydration as growth slows. It’s a balancing act that involves a watchful eye on temperature fluctuations.
You might also want to adjust the position of your camellias to protect them from harsh winter winds or intense summer sun. If possible, move potted camellias to a sheltered location when expecting a dramatic shift in weather, much like you’d do when winterizing your vegetable garden.
Effects of Climate and Environment
Climatic conditions can have a significant impact on the health of your camellias. If you live in a region with very hard water, you may notice that the leaves on your camellias are turning yellow due to the high lime content. Switching to rainwater or distilled water can alleviate this issue.
Similarly, camellias grown in coastal areas might experience yellowing from the salt in the air. In such cases, rinsing the foliage with fresh water occasionally can help remove the salt residue and keep the leaves green and healthy.
Mulching and Its Benefits for Camellias
Applying a layer of organic mulch around your camellias can do wonders. It helps in maintaining soil moisture, moderates soil temperature, and adds nutrients as it breaks down. Pine bark or pine straw is often recommended for camellias because they help in maintaining the acidic soil conditions these plants love.
Just be sure not to pile the mulch directly against the stem or trunk of the camellia to prevent the risk of rot. It’s like how you’d care for the ivy in your collection; attention to detail is key.
Proper Pruning Techniques
Pruning is essential not only for aesthetics but also for the health of camellias. It promotes good air circulation and light penetration, which can greatly reduce the occurrence of yellowing leaves. Make sure to remove any dead or diseased wood as well as inner branches that cross each other.
Remember to use clean, sharp tools to make precise cuts. Think of pruning like giving a plant its annual health check-up, where you’re removing anything that could potentially harm its growth, much like trimming dead foliage from spider plants to improve air quality.
Camellia Varieties and Their Specific Needs
While general care tips apply to all camellia plants, it’s essential to know that different varieties might have specific needs. Whether it’s a sasanqua, japonica, or reticulate camellia, each may exhibit distinct responses to water, light, and nutrient conditions.
Researching your specific variety can help tailor your care to prevent problems like yellow leaves from arising. For beginners, the camellia sasanqua varieties often prove to be a forgiving option due to their relatively hardy nature and versatility.
Preventing Nutrient Lockout in Camellias
Nutrient lockout happens when a buildup of salts in the soil prevents your camellias from absorbing essential nutrients, leading to yellow leaves. It’s often due to excessive fertilizing or poor-quality water. In such cases, flushing the soil with lots of water can help remove these salts.
Adopting a ‘less is more’ approach to fertilizing and using filtered water can be preventative measures. It ensures that your plants get just the right amount of nutrients without risking lockout, similar to the delicate balance required when cultivating cast iron plants in low light.
Recognizing and Treating Nutrient Deficiencies
Camellias may develop yellow leaves if they’re lacking certain nutrients, particularly iron – known as iron chlorosis. If the veins on leaves remain green while the rest turns yellow, it’s a strong sign of iron deficiency. To address this, applying a chelated iron supplement can be effective.
Other crucial nutrients for camellias include magnesium and nitrogen. Epsom salts are raved about by gardeners as a source of magnesium, which helps with chlorophyll production. A balanced, slow-release fertilizer can tackle nitrogen deficiencies and provide a constant supply of nutrients for your flowering friend.
Monitoring and Adjusting pH Levels
Camellias prefer acidic soil with pH levels between 5.5 and 6.5. If soil becomes too alkaline, nutrients like iron become less available to plants, causing yellowing leaves. Regular testing with a pH meter and adjusting with soil amendments like sulfur can keep camellias happy.
Gardeners often turn to products like ‘Espoma Soil Acidifier’ to lower pH naturally. Reviews point to its effectiveness in creating the right environment for acid-loving plants, leading to healthier, greener foliage and brighter blooms on their camellias.
Coping with Environmental Stressors
Just as a stressful environment can affect our well-being, plants too can exhibit signs of stress through yellow leaves. Relocation shock, extreme temperatures, and sudden changes in environment can all impact camellias. Giving plants time to acclimate and offering consistent care is crucial.
For example, if moving a camellia from a nursery to your home, it may temporarily show signs of stress like yellowing. Be patient as it adjusts, much as you would when acclimating English ivy to a new indoor environment.
Exploring Camellias’ Adaptability to Container Living
Camellias can thrive in containers if provided with the right conditions. It offers control over soil quality and moisture levels, as well as the ability to move the plant around to find the perfect lighting condition, similar to Boston ferns in pots.
Just make sure the container is large enough to accommodate growth and has proper drainage holes. Choosing a high-quality potting mix formulated for acid-loving plants is also crucial to prevent issues like yellow leaves from improper soil conditions.
Understanding the Impact of Camellia Leaf Gall
Camellia leaf gall is a disease that causes leaves to thicken, become distorted, and eventually turn yellow or brown. It’s caused by the fungus Exobasidium camelliae. Pruning affected leaves and ensuring good airflow can keep this fungus at bay.
If you suspect leaf gall, removal and disposal of the affected leaves are imperative to prevent the spread of this disease. It’s also recommended to avoid overhead watering which can create a moist environment that encourages fungal growth.
Reviving Over-Fertilized Camellias
It’s possible to have too much of a good thing, and that includes fertilizer. Over-fertilization can lead to a toxic buildup of nutrients, causing root burn and yellow leaves. If this occurs, leaching the soil with plenty of water may help to remove excess fertilizer.
In this situation, it’s important to take a step back and assess your fertilization routine. Make adjustments based on your camellia’s growth rate and overall health. Establishing a balanced feeding schedule is as crucial as monitoring the harvesting practices in a vegetable garden.
Embracing Organic Solutions for Camellia Care
Many gardeners prefer organic care methods for their camellias to keep their gardens chemical-free and eco-friendly. Utilizing compost, natural pest deterrents, and organic fertilizers can be excellent ways to maintain the health of camellias without relying on synthetic products.
Compost not only enriches the soil but also improves its texture, allowing it to retain the right amount of moisture. It’s an organic approach that mirrors the concept of promoting plant health from the bottom up, similar to establishing a pollinator-friendly garden.
Final Thoughts on Caring for Camellias
Yellow leaves on camellias can be disheartening, but with the right knowledge and care, it’s a problem that can be remedied. Patience, observation, and a little trial and error will go a long way in understanding your camellia’s needs and ensuring it remains a vibrant and beautiful part of your garden or home.
Remember, every plant is unique, and what works for one might not work for another. But with these tips, you’re well on your way to becoming an adept camellia caregiver, creating an environment where your precious blooms can flourish for years to come.
“`html
The Importance of Adequate Airflow for Camellias
Good air circulation is vital in preventing many plant diseases, and camellias are no different. Camellias placed in areas with poor airflow can succumb to fungal infections, which often lead to yellow leaves. Therefore, ensure your camellias aren’t too closely packed to other plants, and if grown indoors, occasional ventilation can be beneficial.
Whether indoors or out, pruning can assist in improving air movement around the plant. By removing dead or overcrowded branches, you not only shape your camellia for aesthetic appeal, but you also enhance its overall health, reducing the likelihood of disease.
Acclimating Camellias to New Environments
Camellias are relatively adaptable, but like most plants, they require time to adjust to new surroundings. When you bring a new camellia home or move it to a different spot in your garden, it’s normal to see some yellow leaves due to the adjustment period. Gradual introduction to new conditions is key.
This transitional phase might mirror when you’re introducing a ZZ plant to lower light conditions; it takes time but patience pays off. Thus, with care and consideration for its new environment, your camellia will adapt and continue to grow healthily.
Maintaining Camellias During Dormancy
Dormancy is a natural part of a camellia’s life cycle, typically occurring in the winter. During this period, the plant may drop some leaves, which could include yellow ones, as a part of its natural process. Minimizing stress by reducing fertilization during dormancy can help maintain the plant’s health.
Appreciating this dormant phase is similar to understanding the need for a rest period in winter vegetable gardening; recognizing natural cycles aids in better year-round care for your plants.
Choosing the Right Fertilizer for Camellias
When it comes to feeding your camellias, selecting the appropriate fertilizer is crucial. Look for products formulated for acidic soil plants, as they usually contain the right nutrients in the proper ratios. Slow-release fertilizers are ideal as they provide a steady supply of nutrients over time without overwhelming the plant.
Do be cautious not to overfeed your camellias. Although they are acid-loving plants, too much acidic fertilizer can harm beneficial microorganisms in the soil and potentially lead to nutrient burn, which may manifest as yellow leaves.
Camellias and Companion Planting
Companion planting can be beneficial for camellias, both for aesthetic value and plant health. Pairing them with other acidic soil-loving plants, such as azaleas or rhododendrons, can create a thriving environment where all plants support each other’s growth.
Just ensure that any companions do not overshadow the camellias or lead to overly dense planting, as competition for resources and reduced airflow might contribute to camellias developing yellow leaves.
Professional Advice and Soil Testing
If you’ve tried everything and your camellia leaves are still turning yellow, it might be wise to seek professional advice or have your soil tested. This way, you can obtain precise information on what your specific camellia might be lacking or getting too much of in its environment.
Consulting with a local nursery or an extension office can be as informative as when you look up the best practices for creating a pollinator-friendly vegetable garden. Expert guidance often illuminates solutions that we may overlook.
Reflecting On Camellia Beauty and Resilience
Although yellow leaves can be a sign of distress for camellias, it’s a problem that can usually be solved with attentive care and some troubleshooting. By reflecting on their specific needs and environment, you can revive your camellias, ensuring their graceful blooms continue to dazzle in your garden or home.
Ultimately, camellias are survivors, adept at outliving some temporary hardships. Providing a stable, nurturing environment can help these elegant plants show off their true potential, gifting you with their lush foliage and exquisite flowers for many seasons.
“`
Shop more on Amazon