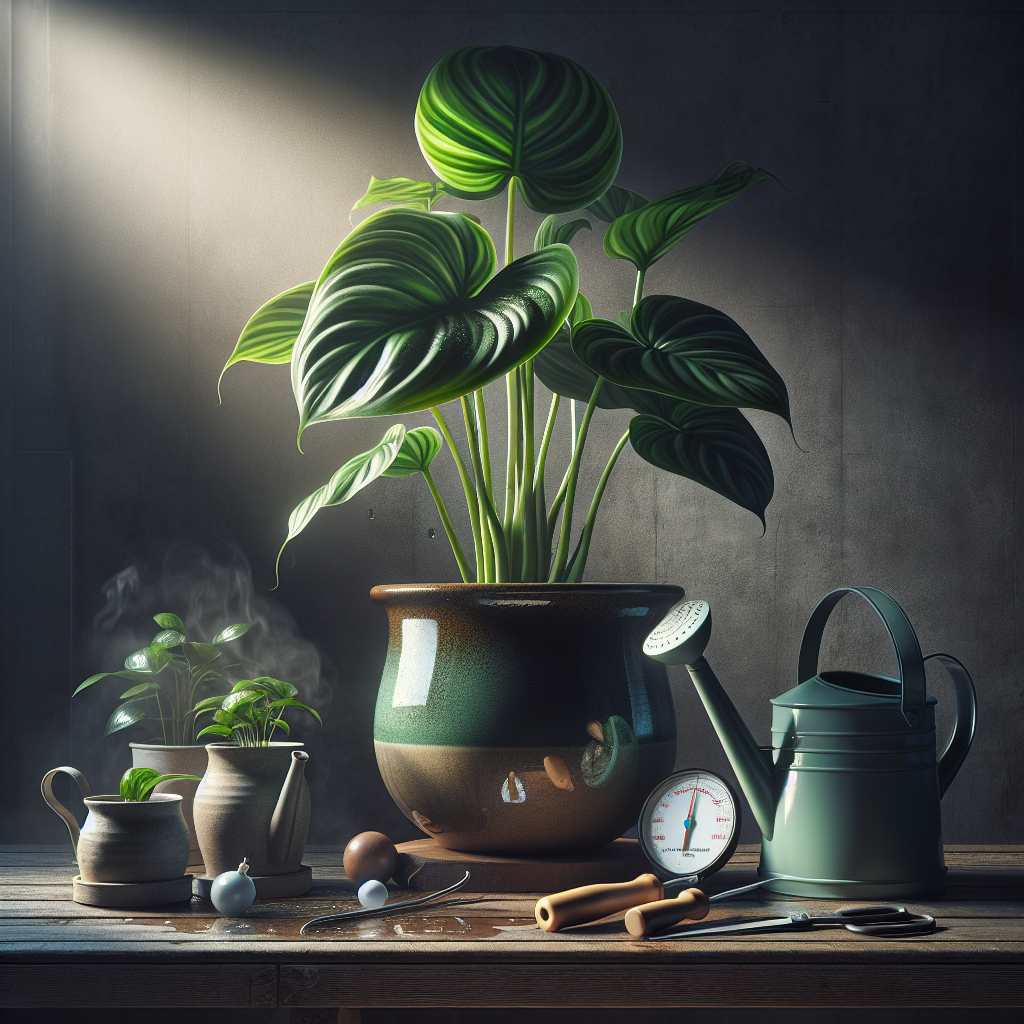
How to Care for Your Indoor Alocasia Plant
Overview of Indoor Alocasia Care
- Pet Friendly: Alocasia plants contain calcium oxalate crystals, which can be toxic to pets if ingested. Keep these beautiful plants out of reach of curious cats and dogs to ensure their safety.
- Light Requirements: Alocasia thrive in bright, indirect light. Direct sunlight can scorch their leaves, while too little light can stunt their growth and cause the leaves to droop. A location near a north or east-facing window is ideal.
- Watering: Consistency is key. Allow the top couple of inches of soil to dry out before watering again. Overwatering or letting the plant sit in water can lead to root rot, a common problem for these tropical beauties.
- Humidity: These plants love humidity, similar to their native tropical habitat. A humidity level around 60% is perfect for keeping your Alocasia happy. Consider a humidifier if your home is on the drier side.
- Temperature: Alocasia plants prefer warmer temperatures, ideally between 60-80°F (15-27°C). They can suffer if the temperature drops below 60°F, so avoid drafty windows in the winter.
- Difficulty: While not the easiest houseplants to care for, Alocasia can be a rewarding challenge for an intermediate plant parent who is ready to provide a bit more attention and care.
What Soil is Best for Alocasia?
Aerated, well-draining soil is essential for the health of Alocasia plants. They grow best in a mix that is rich in organic matter which can include peat, pine bark, and perlite. One such recommended product is FoxFarm Ocean Forest Potting Soil. This soil has a good balance of nutrients and is ph adjusted, which helps with nutrient uptake. While FoxFarm Ocean Forest Potting Soil is generally well-reviewed for its quality and consistency, some users do note it may be too rich for some plants, but for an Alocasia, it’s usually a fantastic choice. It often eliminates the need for additional fertilization for the first few months after potting.
Find This and More on Amazon
When and How to Repot Alocasia Plants
The right time to repot your Alocasia is when you notice its roots starting to outgrow its current pot, typically every 18-24 months. Repotting in the spring is usually best as the plant is entering a period of active growth. Choose a container that is slightly larger than the plant’s current one—about 2 inches in diameter should suffice. This allows for enough room for growth without having too much empty space, which can lead to overwatering. When repotting, handle the plant carefully and use the opportunity to inspect for signs of pests or diseases.
Common Issues and Solutions for Indoor Alocasia
Alocasia plants can be susceptible to several problems, but understanding these issues can help you maintain a healthy plant. For example, yellowing leaves could indicate overwatering, while browning tips often suggest dry air or under-watering. If you notice pests such as spider mites or mealybugs, Neem oil can be an effective treatment. It’s been widely reviewed as a natural pest repellant and has the added benefit of being safe for pets and children. Regularly wiping down your plant’s leaves with a damp cloth can help prevent pest infestations by removing dust and potential pest eggs.
Find This and More on Amazon
Watering Tips for Thriving Alocasia
Understanding the watering needs of your Alocasia is crucial for its survival. These plants prefer their soil to be consistently moist, but not waterlogged. Using a moisture meter, like the XLUX Soil Moisture Meter, might help you get your watering schedule just right. Reviews often highlight how simple and effective it is to monitor soil moisture levels with this tool. By inserting the probe into the soil, you can take the guesswork out of watering, preventing both over and under-watering scenarios.
Find This and More on Amazon
Maximizing Light Exposure
As vital as water is to your Alocasia, so is light. Not all homes are blessed with perfect lighting conditions, which is why a product like the LEONLITE LED Grow Light may come in handy. It offers full-spectrum lighting, mimicking natural light to support plant growth, and the reviews often praise its efficiency and the healthy growth it promotes in indoor plants. It’s especially handy during winter months when natural light is scarce.
How to Fertilize Alocasia for Optimal Growth
Feeding your Alocasia the right type and amount of fertilizer is key to its vibrant growth. A balanced, water-soluble fertilizer applied every 4-6 weeks during the growing season is often recommended. Just be careful not to overdo it, as too much fertilizer can harm the plant. One product to consider is the Miracle-Gro Indoor Plant Food, which is formulated to feed houseplants instantly. Reviewers commend its ease of use and the visible improvement in their plant’s health after application, making it a go-to for many Alocasia owners. However, always remember to follow the instructions on the label for the best results and to avoid potential over-fertilization.
Find This and More on Amazon
Pruning and Cleaning Your Alocasia
To maintain the health and appearance of your Alocasia, regular pruning is necessary. Remove any yellowing or dead leaves to promote new growth and to prevent potential pests and diseases. Doing this also helps the plant direct its energy to the healthier leaves. When it comes to cleaning, gently wipe the leaves with a soft, damp cloth to remove dust and dirt. Not only does this keep your plant looking fresh, but it also allows for better photosynthesis. There are tools like the Fiskars Micro-Tip Pruning Snips that are highly reviewed for their precision in making such delicate cuts on houseplants. The snips are said to be comfortable to hold and easy to maneuver, which is particularly helpful when tending to Alocasia plants with their intricate leaf shapes.
Understanding Alocasia’s Dormancy Period
Alocasia plants may go through a dormancy phase, particularly when the temperature drops in winter. During this time, the plant may appear to be dying, as the leaves may yellow and drop. However, do not be alarmed, as this is a normal part of its cycle. It’s essential to reduce watering during this period, but keep the tubers dry to avoid rot. The plant will typically bounce back come spring. Patience is key, and providing the right conditions for dormancy can ensure your Alocasia comes back stronger.
Handling Pests and Diseases in Alocasia
Every plant parent might encounter pests or diseases at some point, and Alocasias are no exception. Common pests include spider mites, scale, and aphids. A healthy practice is to regularly inspect your plant for signs of these pests and tackle them early. In addition to Neem oil, insecticidal soaps or horticultural oils can provide a safe and effective solution. Products like Safer Brand Insect Killing Soap have gathered positive feedback for being gentle on plants while effectively handling infestations. Remember that prevention is often easier than cure, so maintaining a clean environment and proper care routine for your Alocasia will go a long way.
Selecting the Perfect Pot for Your Alocasia
Choosing the right pot is crucial for the health of your Alocasia. It should have adequate drainage to allow excess water to escape, preventing water from sitting at the bottom and causing root rot. Terra cotta pots are a popular choice because they allow the soil to breathe and help draw out excess moisture. Just remember, whatever pot you choose, always ensure it is the right size for the plant – not too large to avoid overwatering issues and not too small to constrict its roots. With many beautifully designed pots available, you can find one that matches your decor and meets your Alocasia’s needs.
Dealing With Alocasia Leaf Spotting
Leaf spotting can be a common issue with Alocasia plants. This may be caused by water sitting on the leaves for extended periods or a sign of a fungal infection. To address this, ensure you water at the base of the plant to avoid wetting the leaves too much. If you believe the spotting is due to a fungal disease, fungicides can be applied, but always as a last resort. Maintaining good air circulation around the plant can also prevent leaf spotting and many other fungal issues.
Creating the Ideal Environment for Alocasia Growth
To thrive, your Alocasia needs an environment similar to its tropical origins. This means warm temperatures, high humidity, and a consistent watering schedule, as discussed earlier. Apart from natural light, you must monitor the indoor atmosphere by avoiding direct drafts, ensuring proper humidification, and maintaining a regular temperature. Remember that, like any living thing, Alocasia plants can be sensitive to sudden changes, so gradual adjustments are always preferred to keep your plant happy and healthy.
Propagating Alocasia
Once you have a healthy Alocasia, you might want to create more of these wonderful plants. Propagation is typically done through division, where you separate offsets from the mother plant during repotting. This can be an exciting project as you watch new plants grow from the divisions of your existing Alocasia. Be cautious and gentle when separating the offsets to avoid damaging the roots. Propagating your own plants is not only rewarding but also a cost-effective way to increase your indoor plant collection or share it with friends.
What to Do When Alocasia Leaves Droop
Drooping leaves can be a sign of various issues, such as overwatering, under-watering, or inadequate lighting. It’s vital to analyze the care you’re providing and adjust accordingly. Overwatering is a common cause of droopiness, so let the soil dry out a bit more between watering sessions. If underwatering is the issue, establish a more consistent watering schedule. Lastly, if the light levels are off, reposition your plant to a spot where it will receive the right amount of indirect sunlight. Observing and responding to your plant’s condition is the best way to address any issues that arise.
Finishing Thoughts on Indoor Alocasia Care
Caring for an Alocasia plant might seem daunting at first, but with the right knowledge and tools at your disposal, it can become a manageable and enjoyable part of your daily routine. From choosing the correct soil and pot to managing water and light requirements, every step is crucial for your Alocasia’s growth. Don’t be afraid to invest in some key products that can assist in your plant care journey, and always be mindful of the unique needs your Alocasia has. With time and attention, you’ll find yourself a proud parent of a thriving, lush Alocasia that’s a conversation starter and a source of joy in your indoor space.
Fostering a Healthy Root System in Alocasia
A healthy root system is the foundation of any thriving plant, and Alocasia is no exception. It’s important to recognize that healthy roots equate to a healthy plant. When it’s time for repotting, gently removing your Alocasia from its current pot to check the roots can provide insight into its health. You want to see white, firm roots. If you notice any blackened or mushy roots, it’s likely a sign of overwatering and root rot. Trimming away the affected roots and repotting into fresh soil can help your Alocasia recover. It’s also an excellent opportunity to choose a potting mix that promotes good drainage, like those containing orchid bark or charcoal, which have been recommended by other garden enthusiasts for their breathability and moisture control.
Addressing Nutrient Deficiencies in Alocasia
Alocasia plants, with their large and vibrant leaves, require a steady supply of nutrients to maintain healthy growth. Telltale signs of nutrient deficiencies include yellowing of the leaves and weak growth. Thankfully, there are products like Osmocote Smart-Release Plant Food, which is designed to release nutrients gradually, providing a constant supply that can help avoid these issues. This controlled release of nutrients ensures that your Alocasia isn’t overwhelmed by a sudden excess. Many users have found that incorporating these granules into the soil during repotting creates a long-term, sustaining environment for their plants.
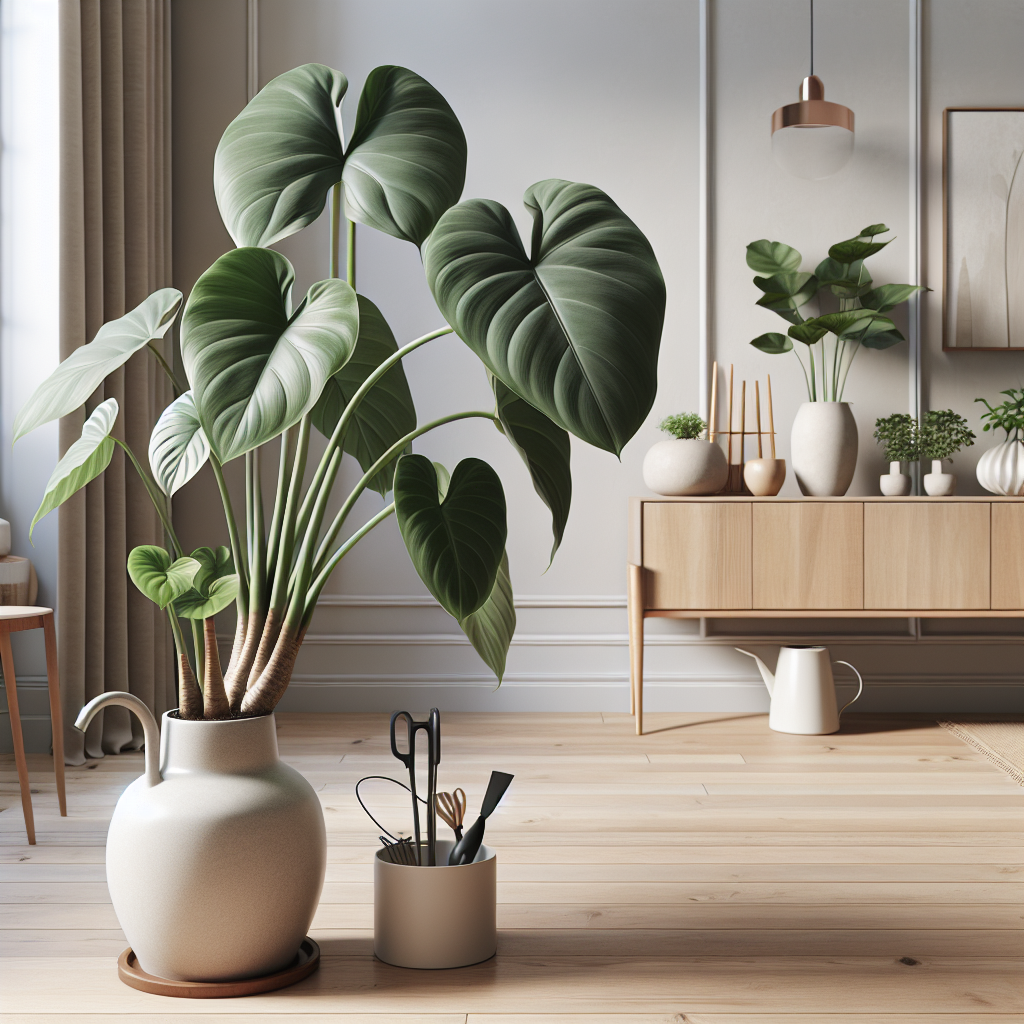
Enjoying Alocasia in Your Indoor Space
Alocasia plants are not just about the care and technicalities; they are also about the aesthetics and joy they bring into your living space. They have become increasingly popular because of their dramatic foliage and striking presence. Placing your Alocasia where it can be seen and enjoyed is just as important as its care. Whether situated as a centerpiece on your coffee table or as a focal point in a well-lit corner, take time to enjoy the beauty of your Alocasia and the touch of nature it brings to your indoor space.
Collaboration with Other Indoor Plants
While the spotlight may be on your Alocasia, it’s worth mentioning that it can look even more stunning when paired with other plants. Grouping it with plant species that have contrasting leaf shapes or textures can heighten the visual interest of your indoor garden. Just be sure that its neighbors have similar care requirements, especially in terms of light and water, to make maintenance easier. Companion plants such as Pothos or Ferns not only complement the Alocasia aesthetically but also share similar environmental preferences, making for a harmonious group.
Personal Experiences and Sharing Knowledge
One of the best parts about having Alocasia plants is the amount you learn over time. As you care for your Alocasia, you’ll gain valuable firsthand experience that you can share with fellow plant enthusiasts. Joining online communities and forums can be a great way to share tips, seek advice, and offer support to others who share your interest. Not only will you potentially help someone else succeed in their Alocasia journey, but you may also learn a few new tricks along the way.
Troubleshooting Uncommon Alocasia Problems
Even with the most attentive care, occasionally Alocasia will present with less common problems. For example, leaf curling can be a sign of temperature stress, which means it’s time to reassess the placement of your plant to ensure it’s not too close to heat sources or cold drafts. Another rare issue could be stunted growth, which might occur if the plant is not receiving the nutrients it needs, suggesting it might be time to reevaluate your fertilizing regimen. When faced with these kinds of challenges, it’s important to stay calm, observe your plant carefully, and make changes one step at a time.
Leveraging Expert Advice for Alocasia Care
While online resources and articles are incredibly useful in guiding you through caring for your Alocasia, don’t underestimate the value of getting advice from a local nursery or botanical garden expert. These individuals often have years of practical, hands-on experience with various plant species and can provide targeted advice for your specific conditions. They can offer insights on everything from pest management to the best local sources for soils and fertilizers suited to your regional climate and Alocasia’s needs.
Embracing the Alocasia Learning Curve
It’s important to recognize that part of the joy of growing Alocasia indoors is embracing the learning curve. There may be setbacks and challenges along the way, but every issue is an opportunity to become a better plant caretaker. Documenting your Alocasia’s growth and changes with a journal or a photo diary can be a rewarding way to track your progress and reflect on the successes and challenges you’ve overcome. Plus, this documentation can be beneficial if you need to troubleshoot issues or want to share your journey with others.
Final Takeaway on Alocasia Indoor Care
Ultimately, the care of your indoor Alocasia plant is an ongoing process of learning, adapting, and enjoying. By focusing on the essential aspects of Alocasia care outlined in this guide, you are setting yourself up for success. Remember that providing the right environment and responding to your plant’s needs will result in a healthy and stunning tropical addition to your home. Whether you’re a seasoned plant parent or new to the world of Alocasia, the rewards of nurturing these beautiful plants are undoubtedly worth the effort.
Shop more on Amazon