Tips for Growing a Norfolk Island Pine in Your Home
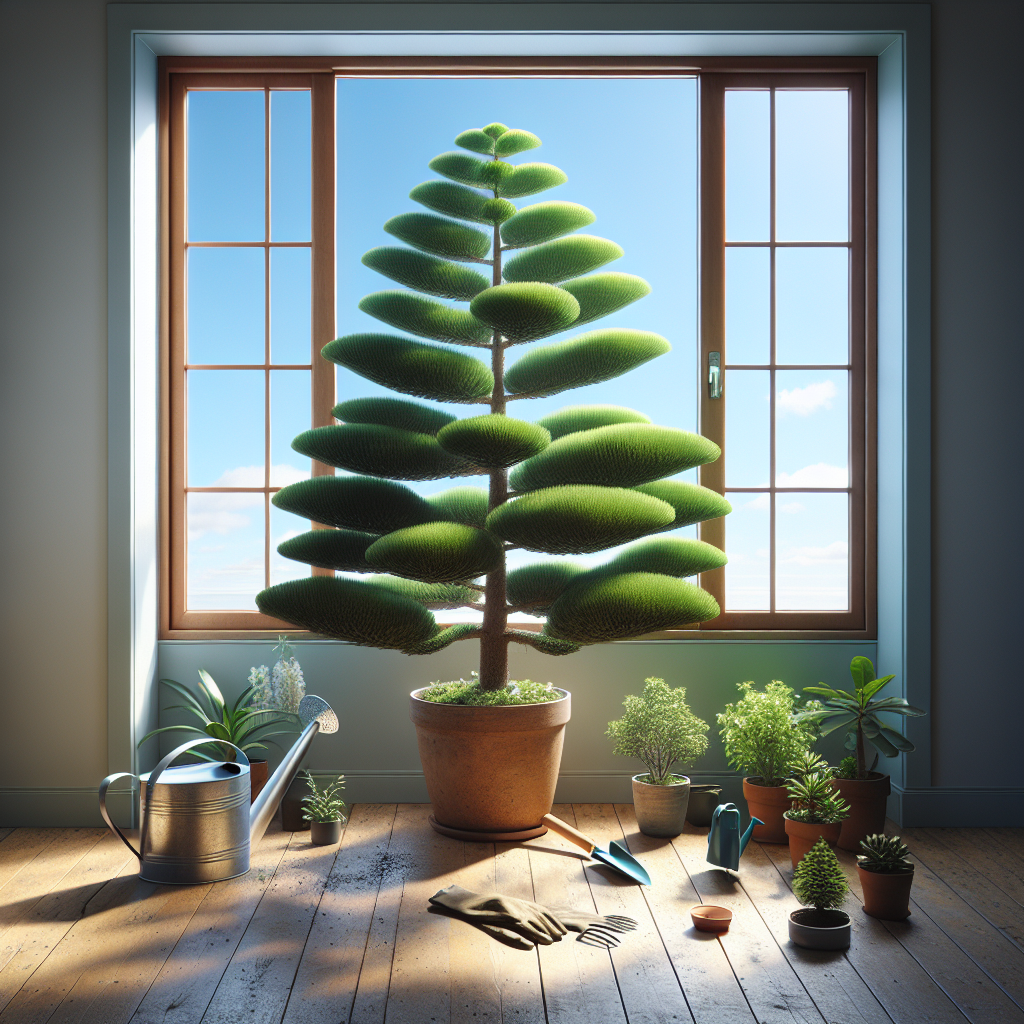
Overview of Norfolk Island Pine Care
- Pet Friendly: Norfolk Island Pines are generally safe for pets, but it’s always best to keep an eye on curious creatures who may nibble on your plants.
- Light Requirements: These charming trees thrive in bright, indirect light. A spot near a window with a sheer curtain would be ideal.
- Watering: Keep the soil consistently moist, but not waterlogged. Over-watering can lead to root rot, which no one wants for their green buddy.
- Humidity: Higher humidity levels mimic the tree’s natural environment, so consider misting your pine or using a humidity tray.
- Temperature: Aim to maintain a temperature between 65 and 70 degrees Fahrenheit, avoiding cold drafts and sudden temperature changes.
- Difficulty: With a little attention to their few needs, Norfolk Island Pines can be a low-maintenance addition to your home, even for beginner plant parents.
Selecting the Perfect Spot for Your Norfolk Island Pine
If you’ve brought a Norfolk Island Pine into your home, you’re in for a treat. These lovely trees, with their soft, graceful branches, can make a big impact in any room. But first, you might be thinking, “Where should I place my new plant friend?” Well, you’ll want a location where it can soak up lots of bright, indirect sunlight. Too little light and your pine might become spindly, reaching for the rays. South-facing windows are a favorite, but remember to shield your tree from harsh direct sunlight with a sheer curtain to prevent browning of those lovely needles.
Nailing the Watering Routine
It might seem daunting, but watering your Norfolk Island Pine doesn’t have to feel like a guessing game. The goal is to keep the soil lightly moist – think of a wrung-out sponge. In the winter, your plant will be a bit thirstier, and that’s okay. You can cut back a tad in the cooler months when the growth slows down. What’s crucial is that you don’t douse your plant in water and leave its feet wet; soggy soil is a no-go. Water well, let the excess drain away, and you’re golden. Between waterings, let the top inch of soil dry out somewhat.
Finding the Right Soil Mix
A thriving Norfolk Island Pine needs soil that holds moisture without becoming waterlogged. A balanced standard potting mix will often do the trick, but if you’re feeling up to it, creating your own blend can provide an even better environment for your tree. Just mix two parts potting soil, one part peat, and one part perlite or sand. This concoction allows for excellent drainage and keeps those roots happy and healthy, which is exactly what you want for your foliage friend.
When to Give Your Norfolk Island Pine a New Home
Now, repotting can sound a bit daunting, but it’s a necessary part of your pine’s life every couple of years or so. Keep an eye out for roots that start to circle the pot or poke through drainage holes – that’s a telltale sign. Spring is typically the best time for this task, as the plant is gearing up for a season of growth. And, a word to the wise, go one pot size up from the current one. A pot that’s too large can lead to excess soil moisture, which, as we’ve learned, is not ideal. When you’ve finished repotting, you can almost hear your Norfolk Island Pine sighing with relief and gratitude.
When Your Norfolk Island Pine Isn’t Looking Its Best
So you’ve noticed some of your pine’s needles are turning brown or dropping off – bit of a panic moment, right? But don’t fret! This could be due to dry air, over- or under-watering, or lack of light. Your mission is to be a detective; check the soil moisture, examine the light conditions, and consider if you’re missing the mark with your watering schedule. Correct the potential issue, and with some TLC, you should see improvement. A quick tip: if you’re stuck in a dry climate, a small humidifier can be a plant-saver.
Pruning and Shaping Your Norfolk Island Pine
One of the joys of having a Norfolk Island Pine is watching it grow into its natural, symmetrical shape. Unlike some plants, Norfolk Pines don’t require much pruning – perhaps just a snip here and there to remove any brown or damaged fronds. If you clip with care, maintaining the beautiful form of your plant is easy, and it’ll stay looking neat. It’s about keeping the plant healthy, rather than striving for perfection.
Feeding Your Foliage Friend
Yes, your Norfolk Island Pine does need to eat! A balanced, water-soluble fertilizer will give it a boost, especially during the growing seasons of spring and summer. When choosing a fertilizer, check labels for a balanced mix of nutrients. For example, with Miracle-Gro Indoor Plant Food, you can expect your plant to get a solid nutrient hit every time you water, per the instructions. Users often rave about the lush growth they see after using it. However, some reviews mention the smell can be strong, so be prepared.
Find This and More on Amazon
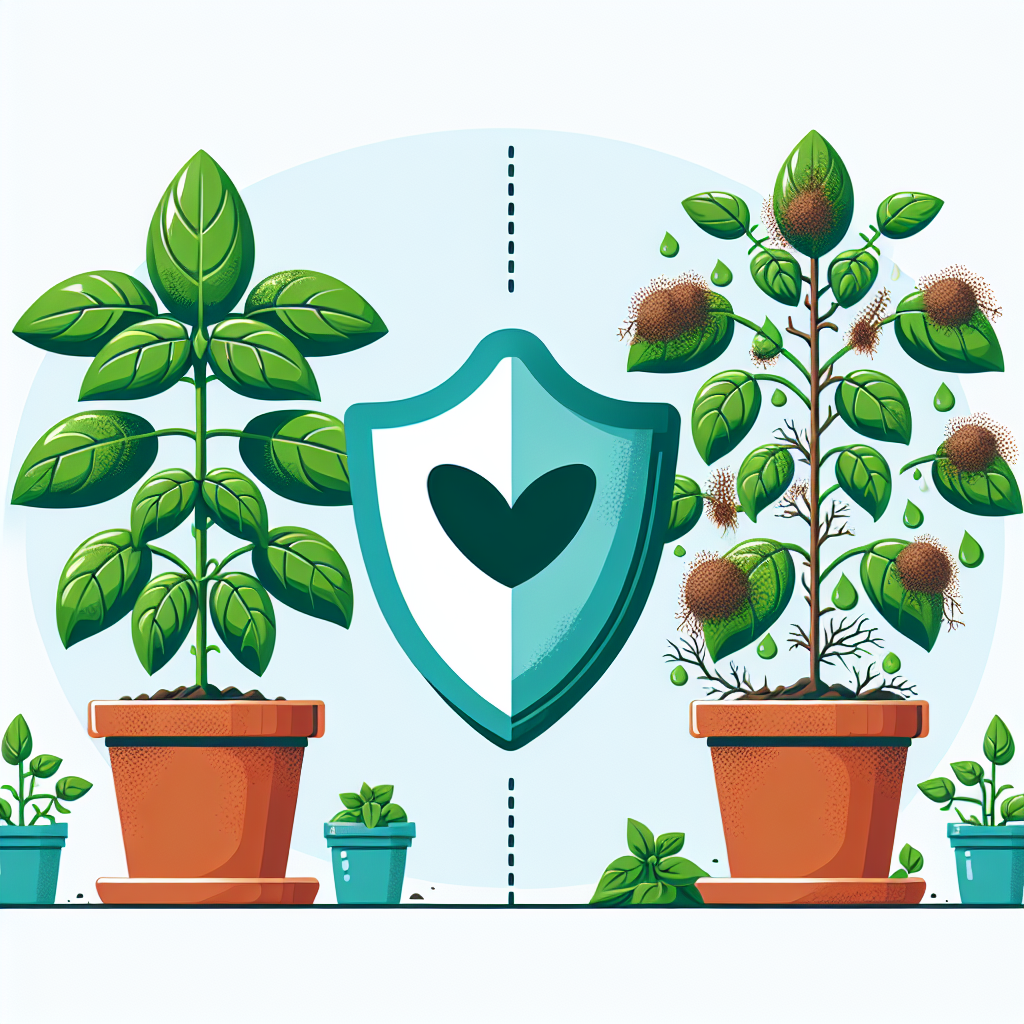
Battling Pests and Diseases
Keeping pests and diseases at bay is key to your Norfolk Island Pine’s health. Thankfully, this plant isn’t a magnet for trouble, but it’s important to keep an eye out for spider mites or scale insects. Removed infected or infested areas immediately to prevent spread. In terms of diseases, root rot is the primary concern, often as a consequence of overwatering. Prevention is typically more effective than treatment, so staying on top of your plant’s needs will save you many a headache.
Is the Norfolk Island Pine the Right Choice for You?
So you’re considering adding a Norfolk Island Pine to your collectible greens, or maybe you’ve already taken the plunge. It’s a lovely choice, bringing a touch of woodsy elegance to your living space. As long as you’re mindful of their light, water, and humidity needs, you should have a fairly straightforward plant-parenting journey. They’re even resilient enough for those of us who are sometimes forgetful. If you’re willing to provide a little consistent care, your Norfolk Island Pine will reward you with its verdant, sprightly presence for years to come.
Final Thoughts: Embracing Your Green Journey
Bringing a Norfolk Island Pine into your home isn’t just about adding decor; it’s about starting a journey with a living, breathing companion. This plant won’t just beautify your space; it’ll also bring a sense of accomplishment as you nurture it and watch it grow. Remember, gardening, even the indoor variety, is a practice of patience and learning. If you’re ready for the commitment, a Norfolk Island Pine may become more than just a plant—it could be an enduring, graceful member of your family.
Understanding Norfolk Island Pine Seasonal Care
Seasonal changes can have a noticeable effect on your Norfolk Island Pine, but understanding its needs throughout the year can help it thrive. During spring and summer, it enters a phase of active growth and enjoys higher humidity. A daily spritz of water can do wonders during these months. When autumn rolls in, your plant’s growth will start to slow down, signaling a time to reduce watering frequency.
Winter generally poses the biggest challenge for indoor plants. Keeping your Norfolk Island Pine away from frosty windows is essential during this time. Ensure the room where it resides does not dip below the 50-degree Fahrenheit mark. Be cautious with heating sources too, as central heating can dry out the air and lead to crispy needles. A humidifier or a pebble tray with water can help maintain a consistent level of humidity that this subtropical tree prefers.
Decorating with Your Norfolk Island Pine
Aside from its air-purifying qualities and the lush aesthetic it adds to any room, the Norfolk Island Pine is often used as a living Christmas tree. Outfitting it with lightweight ornaments can turn it into a festive feature of your holiday décor. Just be careful not to weigh down the fronds with heavy decorations, as they can snap under too much pressure. Also, consider where the tree will be placed if it needs to be moved for the holidays – it won’t appreciate a drastic change in light or temperature.
Maximizing Your Pine’s Potential: Potting and Repotting Tips
The right pot can make a big difference for your Norfolk Island Pine. Terracotta pots are an excellent choice as they allow the soil to breathe and help prevent water retention. Make sure any pot you choose has ample drainage holes. Repotting should be done sparingly, every few years, as the tree appreciates snug conditions. When you do repot, remember to handle the root ball gently to avoid shock and to water it thoroughly afterward to settle the roots into their new home.
Creating the Perfect Environment for Growth
Even the best care can be undermined if the environment isn’t right for your Norfolk Island Pine. It loves a stable environment without extreme changes. Always be mindful of drafts or heat sources that could affect the temperature too much. If you notice your tree leaning, rotate it occasionally to ensure even exposure to light. This will encourage straight growth and maintain the tree’s natural, upright elegance.
Leveraging Expert Advice and Resources
Tapping into the wealth of knowledge available can significantly enhance your plant care skills. With resources like the online community at the National Gardening Association or advice from your local nursery, you can learn from others’ experiences and ask questions specific to your situation. There’s always more to discover about your Norfolk Island Pine’s care and dealing with any issues you might face along the way.
Incorporating Companion Plants
Consider pairing your Norfolk Island Pine with other plants to create an indoor oasis. Ferns, peace lilies, or philodendrons make excellent companions as they enjoy similar conditions. Not only will this enhance the beauty and diversity of your plant collection, but it can also improve the overall humidity of the area, creating a tiny ecosystem that benefits all your green friends.
Embracing the Unique Qualities of Your Plant
Every Norfolk Island Pine has its own character and growth pattern. Embrace these idiosyncrasies and allow your tree to be its unique self. Each lean, each frond, each slight variation in color is what makes your plant special. Remember, perfection in nature is about the individual beauty of each living thing, and your Norfolk Island Pine is no different.
Sharing Your Norfolk Island Pine Journey
Don’t underestimate the joy of sharing your plant-growing experiences with others. Social media groups and online forums provide spaces where you can connect with fellow enthusiasts, exchange tips, and even share cuttings or seeds. Documenting your Norfolk Island Pine’s progress through photos or a journal can be a rewarding way to reflect on your plant care journey and the milestones you and your tree have reached together.
Summary: Creating a Lush Haven for Your Norfolk Island Pine
In conclusion, caring for a Norfolk Island Pine can be a fulfilling and enjoyable experience. With a bit of know-how on how to water, where to place it, and when to repot, your plant can flourish and bring life to your indoor space. Remember, the key to success with this tree, as with any plant, is understanding and meeting its needs. By doing so, you can look forward to watching your Norfolk Island Pine thrive and grow for many years to come.
Understanding Common Issues and How to Troubleshoot Them
While Norfolk Island Pines are relatively hardy, like any plant, they’re not immune to issues. If your pine’s needles start yellowing, it could be a sign of either overwatering or underwatering. This is where your detective skills come in handy—check the soil! If it’s soggy, give the roots a chance to breathe before the next watering. If it’s bone dry, it’s time for a drink. And here’s a neat trick: when watering, imagine you’re giving your plant a nice, refreshing shower, not a flood.
Sometimes, you’ll see your pine looking a bit lackluster. This might mean it’s time to reassess your fertilizing game. Over-fertilizing can lead to salt buildup, causing the tips of the needles to brown. It’s like having too much of a good thing. If you suspect over-fertilization, flush the soil with water to remove excess fertilizer. Remember, moderation is key when feeding your pine.
Still stumped? Your plant might simply be stressed from being moved around too much. These pines enjoy stability, so find a good spot and try to limit the location changes. A consistent care routine and stable environment go a long way in keeping your Norfolk Island Pine happy and healthy.
Getting Creative with Styling and Display
Having a Norfolk Island Pine offers the perfect opportunity to get creative with your home decor. These trees can be elegant and majestic on their own, but consider pairing them with a stylish pot that complements your area’s aesthetic. A woven basket or a modern planter can give your pine a fresh new look. And let’s not forget about height—elevate your pine on a plant stand or a stack of books to give it the prominence it deserves in your space.
You might also want to play around with groupings. Place your Norfolk Island Pine alongside lower, bushier plants to create a dynamic, multi-level display. By varying the heights and textures of your plant arrangements, you can turn an ordinary room into a lush, botanical sanctuary.
The Joy of Propagating Norfolk Island Pine
Now let’s talk about propagation. Although Norfolk Island Pines are not the easiest to propagate, for those with a green thumb, it can be an exciting challenge. However, you should note that these plants don’t usually produce viable seeds indoors, and cutting propagation is tricky. The good news is, when you do manage to propagate your pine, you’ll have the satisfaction of watching a new plant grow from the effort and love you’ve put into it.
Propagation by cuttings should be done in the spring or early summer, using healthy, non-woody stems. Apply rooting hormone to the cut end and place it in a well-draining medium. Maintain high humidity and consistent moisture, and hopefully, in time, you’ll have a new miniature Norfolk Island Pine to nurture.
While not all propagation attempts will be successful, don’t be discouraged. Every failure is a lesson learned, and every success is a joyful addition to your plant family.
Bringing It All Together: A Plan for Success with Your Norfolk Island Pine
Cultivating a Norfolk Island Pine inside your home is more than just plant care—it’s crafting a relationship with a silent, green companion. By providing the right balance of light, water, and nutrients, you’re setting up your pine for success. Listening to what your plant is telling you through its appearance will guide you to make the best care decisions and adjustments.
Stay vigilant for potential threats like pests and diseases, and be proactive in your approach to warding them off. Remember, the effort you put into creating the perfect environment and maintaining a solid care routine will reflect in the vitality and growth of your tree.
In return for your commitment, the Norfolk Island Pine will grow with you over the years, becoming an integral part of your home’s character and your life’s rhythms. May the journey be as rewarding as the lush, evergreen presence that graces your living space!
Shop more on Amazon