The Art of Repotting: A Step-by-Step Guide for Gardeners
Understanding When to Repot Your Plants
Bringing life to your space with plants can spark joy, but did you know that to keep them thriving, repotting is a key step in plant care? Repotting isn’t just about changing the old soil or upgrading the size of the pot—though those are crucial elements—it’s about giving your green friends the best foundation to keep growing. Have you noticed slower growth, roots poking out of the drainage hole, or water that runs straight through the pot? These might be signs your plant could benefit from a new home. In this comprehensive guide, I’ll walk you through each step of repotting and sprinkle in some product recommendations based on popular reviews that could make this task even more successful for you.
Choosing the Right Pot for Your Plant
The pot is not just a container; it’s part of your plant’s habitat. You should consider material, size, and drainage. Terracotta pots are a classic choice among gardeners for their breathability and affordability, which is great for plants that don’t like soggy roots. An example of a solid terracotta pot choice is the Mkono Terracotta Pot. Reviewers frequently praise the Mkono’s classic design that comes with a drainage hole at the bottom, perfect for avoiding waterlogged soil. It’s importantly noted that the pot comes in various sizes, allowing for a proper fit for your plant’s roots without giving them so much space that the soil stays wet and potentially causes root rot.
Find This and More on Amazon
Selecting the Right Soil Mix
Soil isn’t just “dirt.” It’s a mix of various components that provides nutrients, aeration, moisture retention, and support for your plants. A good potting mix should resemble their natural growing conditions. Consider a specialized mix, such as the FoxFarm Ocean Forest Potting Soil. This product is often highlighted for its balance of sandy loam, peat moss, and aged forest products, offering excellent drainage and aeration qualities. Reviewers have specifically mentioned its readiness to use straight from the bag and how it promotes vigorous plant growth.
Step-by-Step Guide to Repotting
Now, let’s delve into the step-by-step process of repotting your plants, ensuring you know exactly what to do.
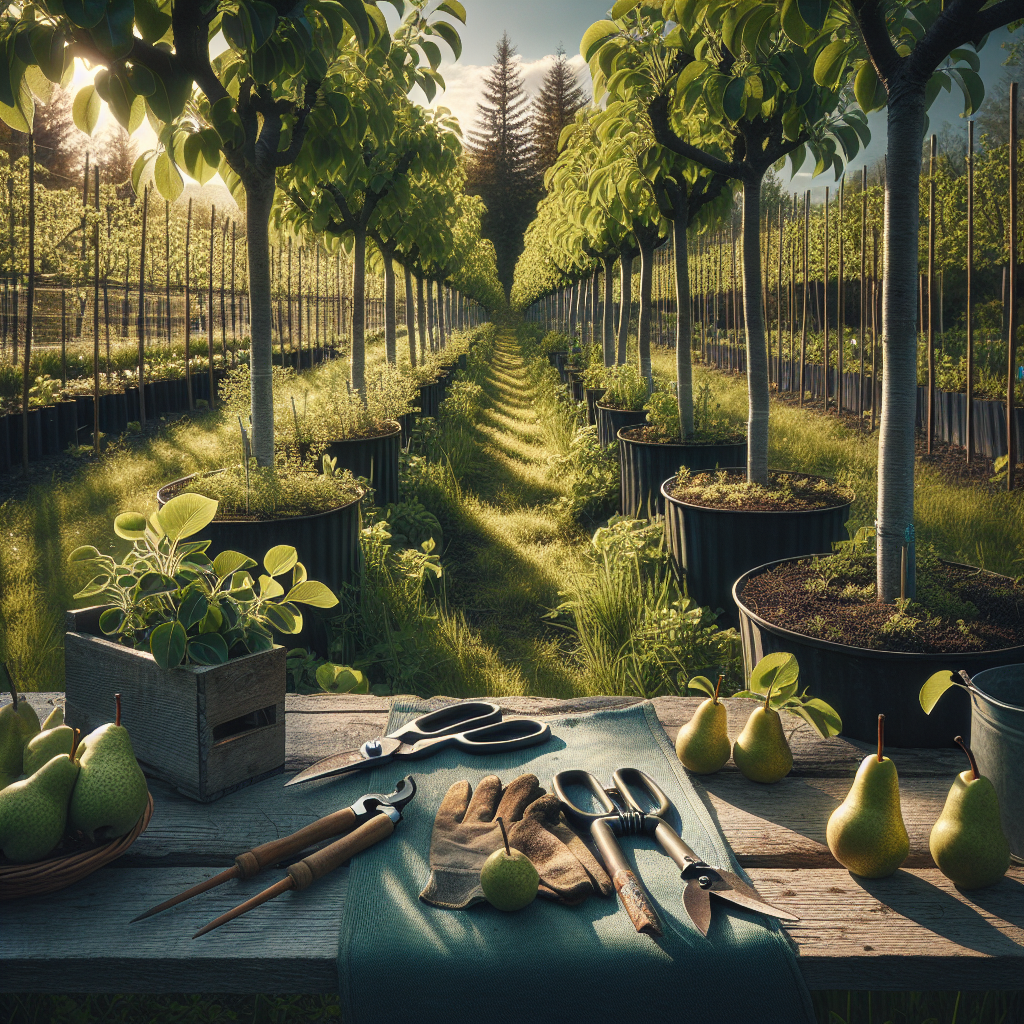
1. Gather Your Supplies: Before you begin, make sure you have your new pot, potting mix, a watering can, gloves, and maybe a trowel or a small spade on hand. Having everything within reach makes the process smoother.
2. Preparing the New Home: Fill the pot’s bottom with a fresh potting mix layer. Remember, the amount will vary depending on the size of both the plant and the pot.
3. Removing the Plant: Gently remove the plant from its current pot. Sometimes, plants can become root-bound, meaning their roots have filled the pot and are circling around themselves. If this is the case, you might need to carefully massage the roots to loosen them from their tightly wound state.
4. Pruning: This is the time to remove any dead or decaying roots or leaves. Healthy roots are generally white and firm, so anything that doesn’t fit this description can go.
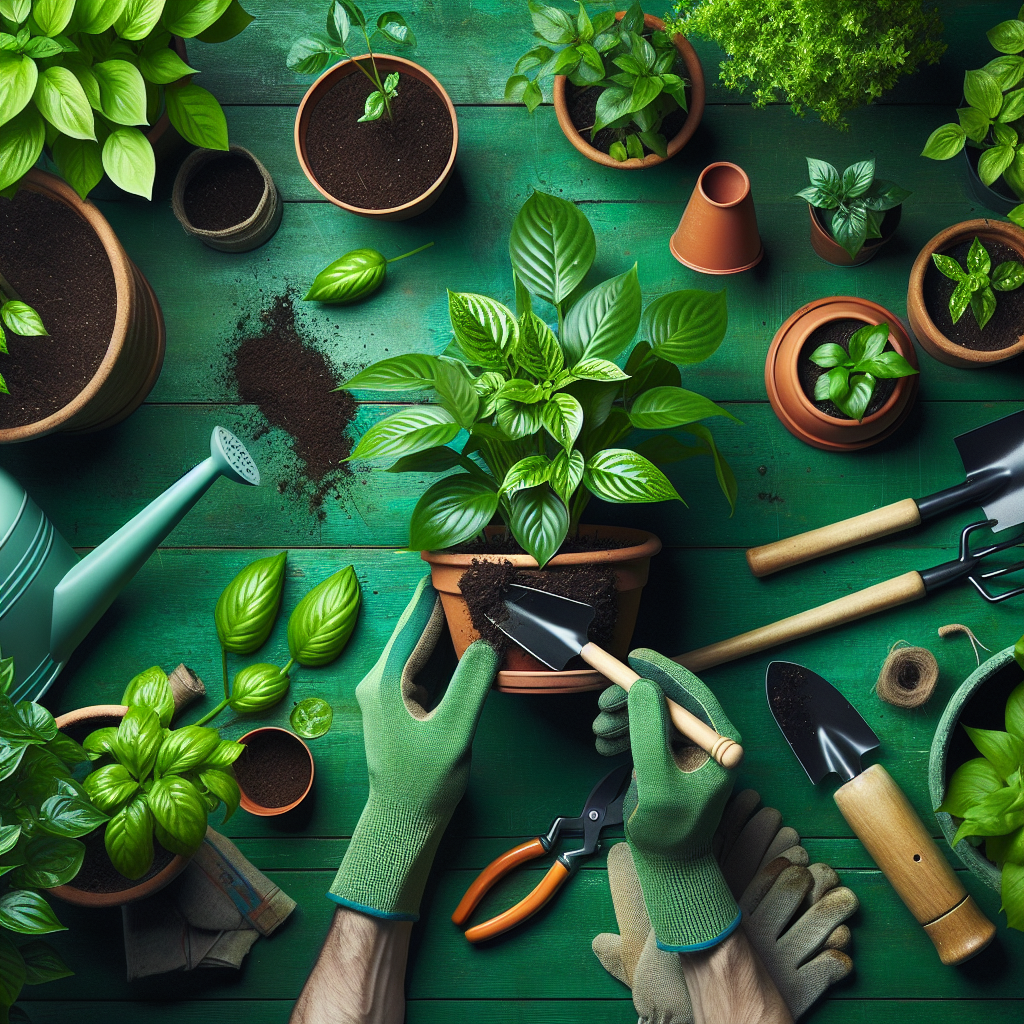
5. Planting: Place your plant in its new pot and fill around it with potting mix. Be sure not to pack the soil too tightly—you want the roots to breathe.
6. Watering: After repotting, water your plant thoroughly. This helps settle the soil and eliminate air pockets. Ensuring proper hydration at this stage is crucial.
Aftercare: The First Weeks Following Repotting
The first few weeks after repotting are critical for your plant. This is when they adjust to their new environment. Monitor the soil moisture carefully, as new soil can dry out faster or retain more moisture than the old soil. It’s essential not to over-water during this period but to keep the soil consistently moist.
Tip: Keep the repotted plant in a shaded area where it can slowly acclimate to the sunlight exposure it had before. Gradually move it back to its previous spot to prevent shock from too much light too fast.
Common Repotting Mistakes to Avoid
Even experienced gardeners can make mistakes when repotting. One common issue is choosing the wrong pot size—either too big or too small. You might think giving your plant a lot of room to grow is helpful, but too large of a pot means too much wet soil, which can lead to root rot. On the other spectrum, a pot that’s too small will quickly become root-bound again. Also, avoid neglecting to water after repotting, as this can add stress to an already stressful event for your plant.
The Importance of Proper Drainage
A factor often overlooked but paramount in plant care is ensuring your pots have proper drainage. It’s not just about the hole at the bottom; it’s also about what you put in the pot. Using materials like pebbles or broken terracotta pieces at the bottom before adding soil can help improve the flow of water. Consider this much like an insurance policy for your plants—proper drainage can prevent many issues related to overwatering, such as fungal growth and root rot. A product that is often recommended by seasoned gardeners for improving drainage is the Mosser Lee ML1121 River Rock Soil Cover. This all-natural river rock not only adds an aesthetic touch to your pots but also aids in preventing soil from spilling out of the drainage hole while facilitating water flow. Reviews suggest that these rocks are clean, uniform in size, and versatile for various types of projects, including repotting.
Find This and More on Amazon
Root Care During Repotting
Root care is crucial during the repotting process. Treat them gently as you would handle the petals of a delicate flower. When untangling roots, do so with care to avoid stress and damage. If roots are excessively long, you can trim them a bit, but be cautious not to overdo it—roots are the lifeline of your plant. A tool that comes in handy for this delicate procedure is the Fiskars Micro-Tip Pruning Snips. These snips are praised for their precision in getting into tight spaces without causing unnecessary damage to the plant. Reviewers often note the comfort of the grip and how the snips make root pruning less of a chore and more of a controlled effort.
Find This and More on Amazon
Troubleshooting: Common Issues After Repotting
At times, even after careful repotting, you may notice your plant showing signs of distress—like drooping leaves or brown spots. This can be due to transplant shock, which is normal and should resolve with proper care. It’s essential to monitor and maintain a consistent watering schedule, avoid direct sunlight immediately after repotting, and ensure the plant is in an environment with stable temperatures. Patience here is key; give your plant some time to recover.
Personalizing Your Space with Pots
Pots come in endless varieties of materials, colors, and designs, which allows your repotted plants to enhance the style of your home. You can choose pots that match your interior design or even use them as accent pieces. Have fun with it! The Rivet Geometric Ceramic Planter is a modern, stylish option that bridges the gap between functionality and aesthetics. This planter’s geometric pattern catches the eye, and its neutral colors allow it to blend with various decor styles. It comes highly recommended for its solid construction and the fact that it includes a drainage hole. Customers love the fact that it makes their space trendy while keeping their plants healthy.
Find This and More on Amazon
The Best Time to Repot
Understanding the best time to repot is crucial for minimizing stress on your plants. Generally, late winter or early spring, just before the start of the growing season, is ideal. During this time, plants are coming out of their dormancy period and are ready to put out new growth, which makes them more resilient to repotting. However, if you notice signs of a plant being root-bound or the soil being exhausted during other times of the year, don’t hesitate to repot to ensure your plant’s health.
Nurturing Your Plants Post-Repotting
The journey of repotting doesn’t just end with placing your beloved greenie into its new home. Nurturing your plant after repotting is critical to ensure it settles in well. You might be anxious seeing your plant go through adjustments—like temporary wilting or slower growth—but fret not, as this is natural. Your plants are getting used to their new surroundings. Watching your plant can clue you into how much attention it needs, so remember to observe and adjust your care regime accordingly. Do you see the new leaves unfurling gracefully? That’s a great sign your plant is settling in beautifully.
The Role of Watering Cans and Moisture Meters
After repotting, watering is especially important. A well-designed watering can like the Bloem Easy Pour Watering Can ensure you provide even and gentle watering, with an adjustable spout to control water flow.
Reviewers appreciate that the dual handles make for easy carrying and balancing when the can is full. Another tool worth mentioning is a moisture meter, such as the XLUX Soil Moisture Meter. This can help you avoid over or under-watering by providing an accurate reading of the soil’s moisture level. Users often cite its simplicity and reliability, claiming it takes much of the guesswork out of plant care post-repotting.
Find This and More on Amazon
Fertilizing: Ensuring Proper Nutrition
Once your plant has had a few weeks to settle in, you can start thinking about fertilization. A good plant food can really make a difference in the post-repotting recovery and growth. One well-reviewed option is the Osmocote Smart-Release Plant Food. With its 14-14-14 balance of essential nutrients and a no-burn pledge, it can slowly release food for up to six months. Users find that it promotes strong, healthy growth without the fear of over-fertilizing, a frequent concern for garden enthusiasts.
Find This and More on Amazon
Adapting to Growth: Knowing When It’s Time to Repot Again
Plants can be unpredictable, and sometimes, they might need repotting sooner than expected. You may have got the timing right, picked the perfect pot, and chosen the best soil, but your plant will have its own unique growth rate. Keep an eye out for the telltale signs of needed repotting such as roots creeping out of the pot, stunted growth, or water quickly passing through without soaking in. It’s a continuous journey, and as a devoted plant parent, being adaptable to your plant’s needs will ensure you are always providing the best care.
Joining Online Plant Communities
Lastly, remember that you’re never alone in this green endeavor. Online plant communities and forums can be a treasure trove of advice, tips, and support. Whether it’s seeking advice on peculiar plant behaviors post-repotting or sharing your own success stories, these communities can add to the enjoyment of your gardening hobby. Platforms like the Gardeners’ World Forum and the Reddit community r/houseplants, are bustling with enthusiastic plant owners who really understand the highs and lows of plant care. Engaging with these communities can deepen your knowledge and provide a sense of camaraderie as you navigate the art of repotting.
Shop more on Amazon